
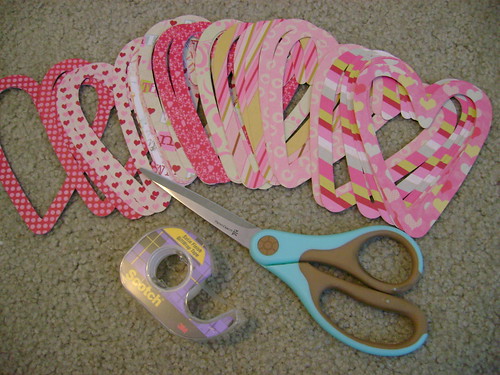
I bought a collection of 12 x 12 scrapbook paper that was double sided and that was my only expense. I did use my Cricut Expression cutter and I used the Accent Essentials cartridge to cut out the hearts. I made them 5" tall. On a 12 x 12 piece of paper that made 4 hearts. I saved the inside of the hearts for another garland (see below).
The hearts are going to create a garland by linking together. In order to link them, you will need to make a small inconspicuous cut, link the hearts and then tape the cut back together. First I tried it here, in the bottom of the V.
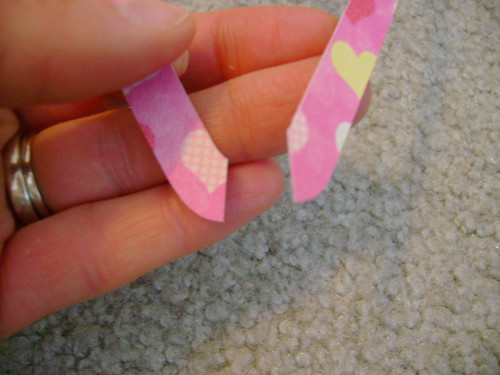
I quickly realized that this was not going to be the best place for two reasons.
First, having a cut in the bottom of the V would make that area weaker when the garland is hanging.
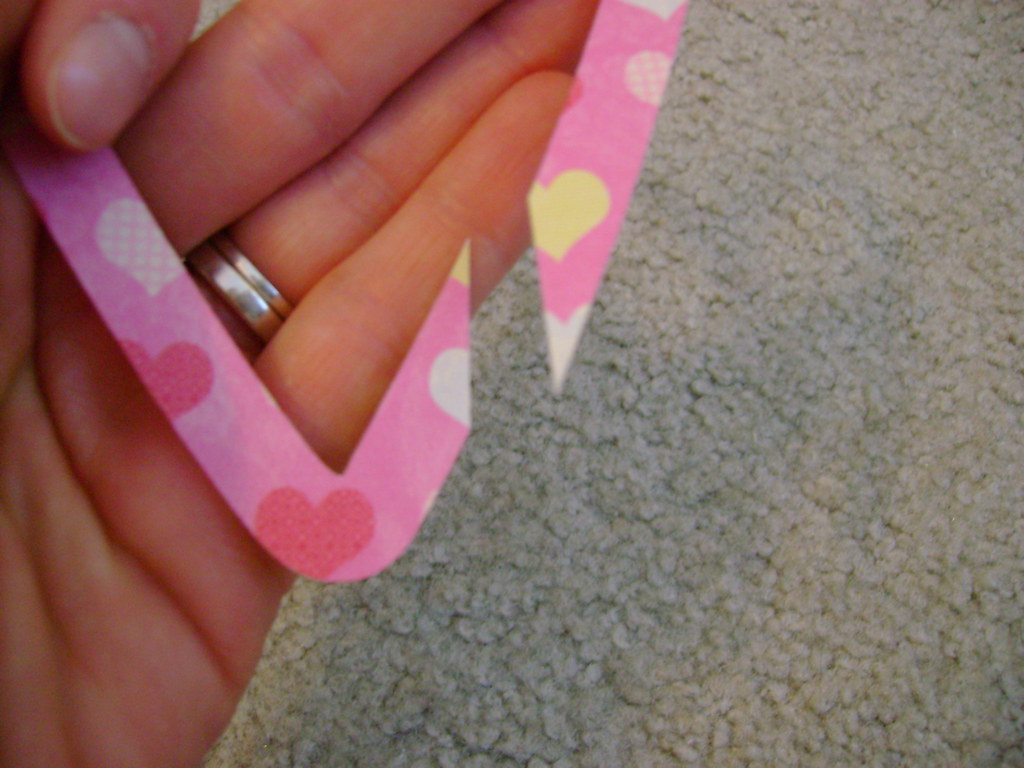
Secondly, I planned to tape the cut back together. With the cut in a curve of the heart, there would be no easy way to fold the tape over and hide the tape. There would always be an ugly clump of tape there unless I trimmed it with scissors. With a long garland, that could become labor intensive pretty quickly. Also, I wanted to tape the cut back together in such a way that it would not be obvious to the eye.
On my next heart, I made a cut at a diagonal along the side of the heart. This way the tape would be easy to fold over a straight edge, making it much easier to hide.
I also cut some smaller hearts using solid colored paper to mix in and give the garland a more interesting and whimsical look. I used 8 1/2" x 11" paper for this and was able to make six 3 1/2" hearts on each page.

I laid out each of my papers on the floor, decided on the order and got kitten approval!
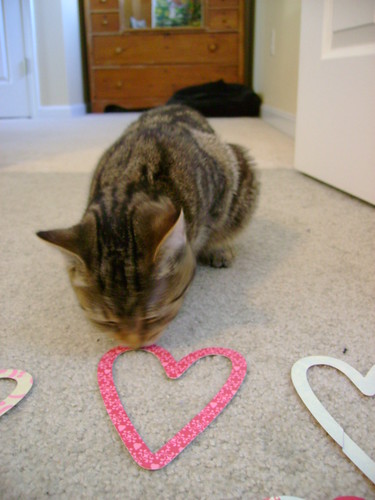
And then I started assembling!
There is a small thing to point out during this step which will matter depending on how you wish to display your garland. I intended to display mine by hanging it freely from 3 points. I wanted it to look whimsical, allowing the hearts to be displayed in different directions and the paper to be seen from both sides. It didn't matter to me how the hearts were linked together.
If you have a preference about which paper is showing next to which or that all of the hearts be upright, you will need to secure each heart to one another and be aware of which way the hearts are linking together as you make the garland. For example, in the picture below I always added a new heart to the right and always used the new heart to loop through the last by passing it through the center from above, not below.

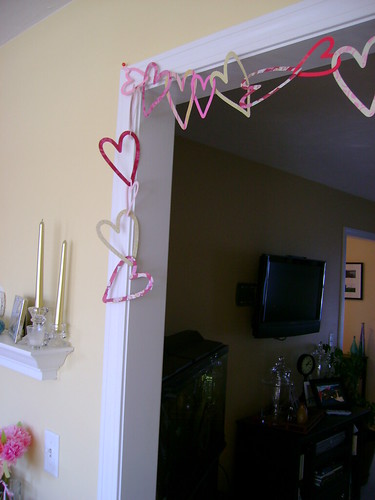
When I had finished I took it down stairs and hung it up!

I was careful not to make the sides hang too low as to temp that sweet kitten to play with it, but I left enough hanging to balance the sides.
And with the centers that I saved from cutting out each heart (and a long satin ribbon) I made another garland!

Materials:
patterned paper
scissors
clear tape
any die-cut machine or pattern cut with scissors
patterned paper
scissors
clear tape
any die-cut machine or pattern cut with scissors
No comments:
Post a Comment